
Guide - items
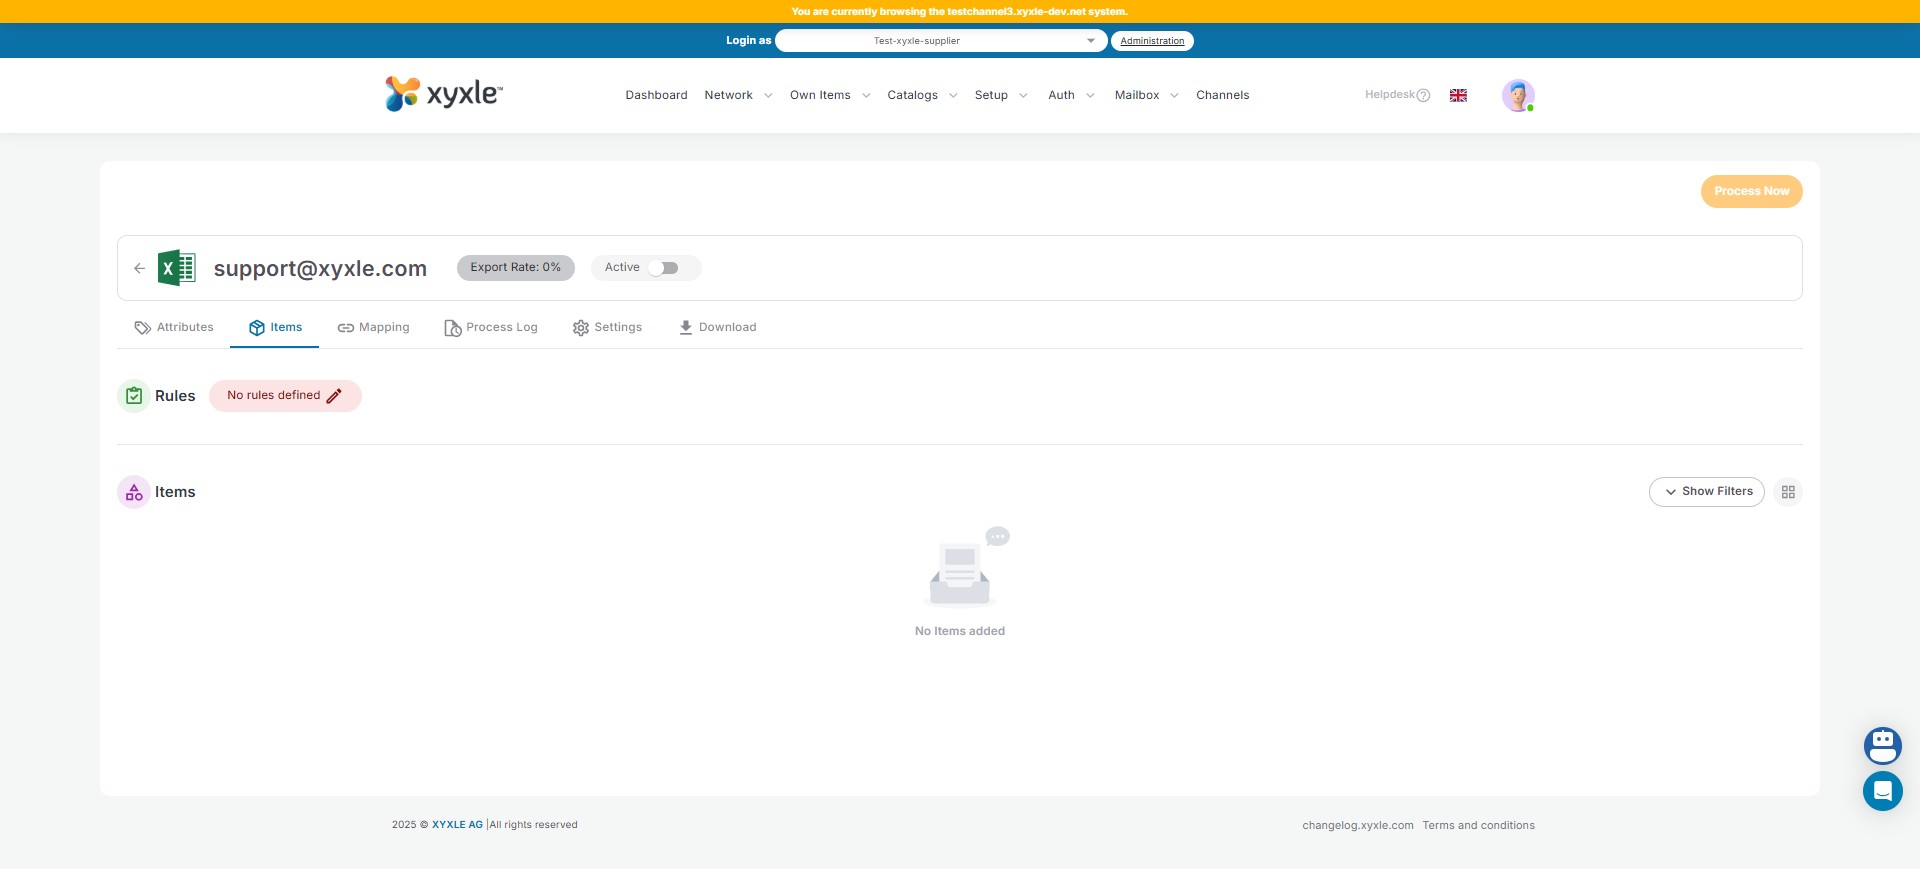
Click on "No rules defined".
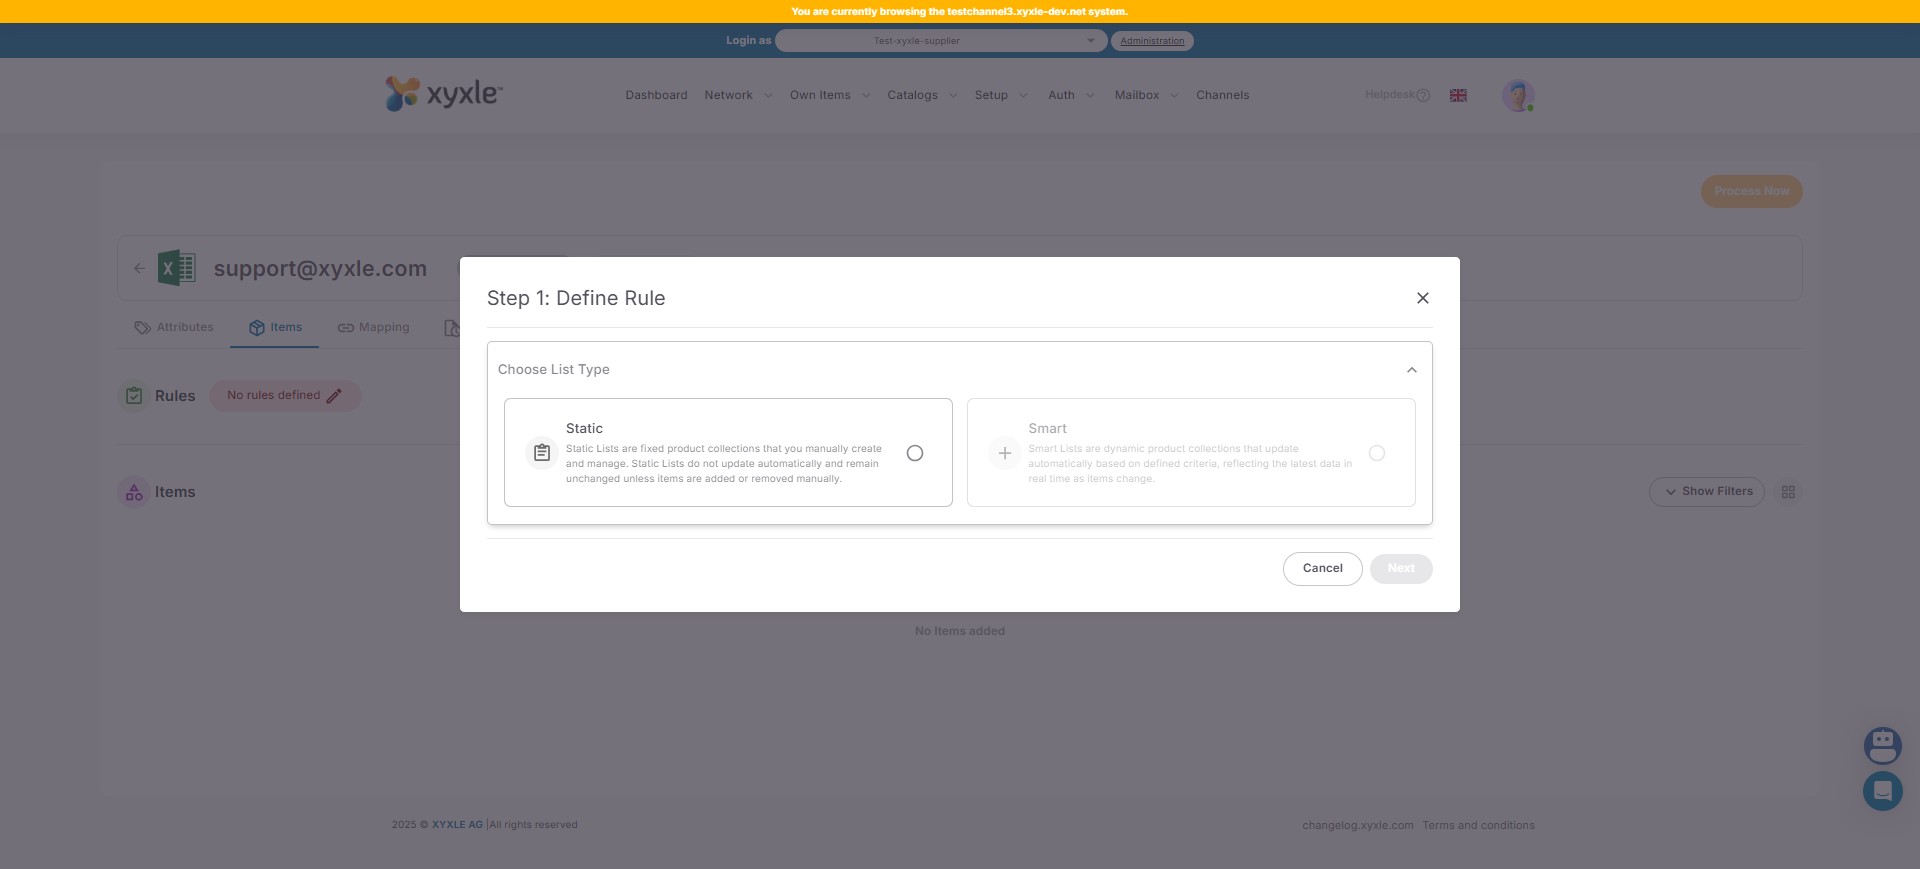
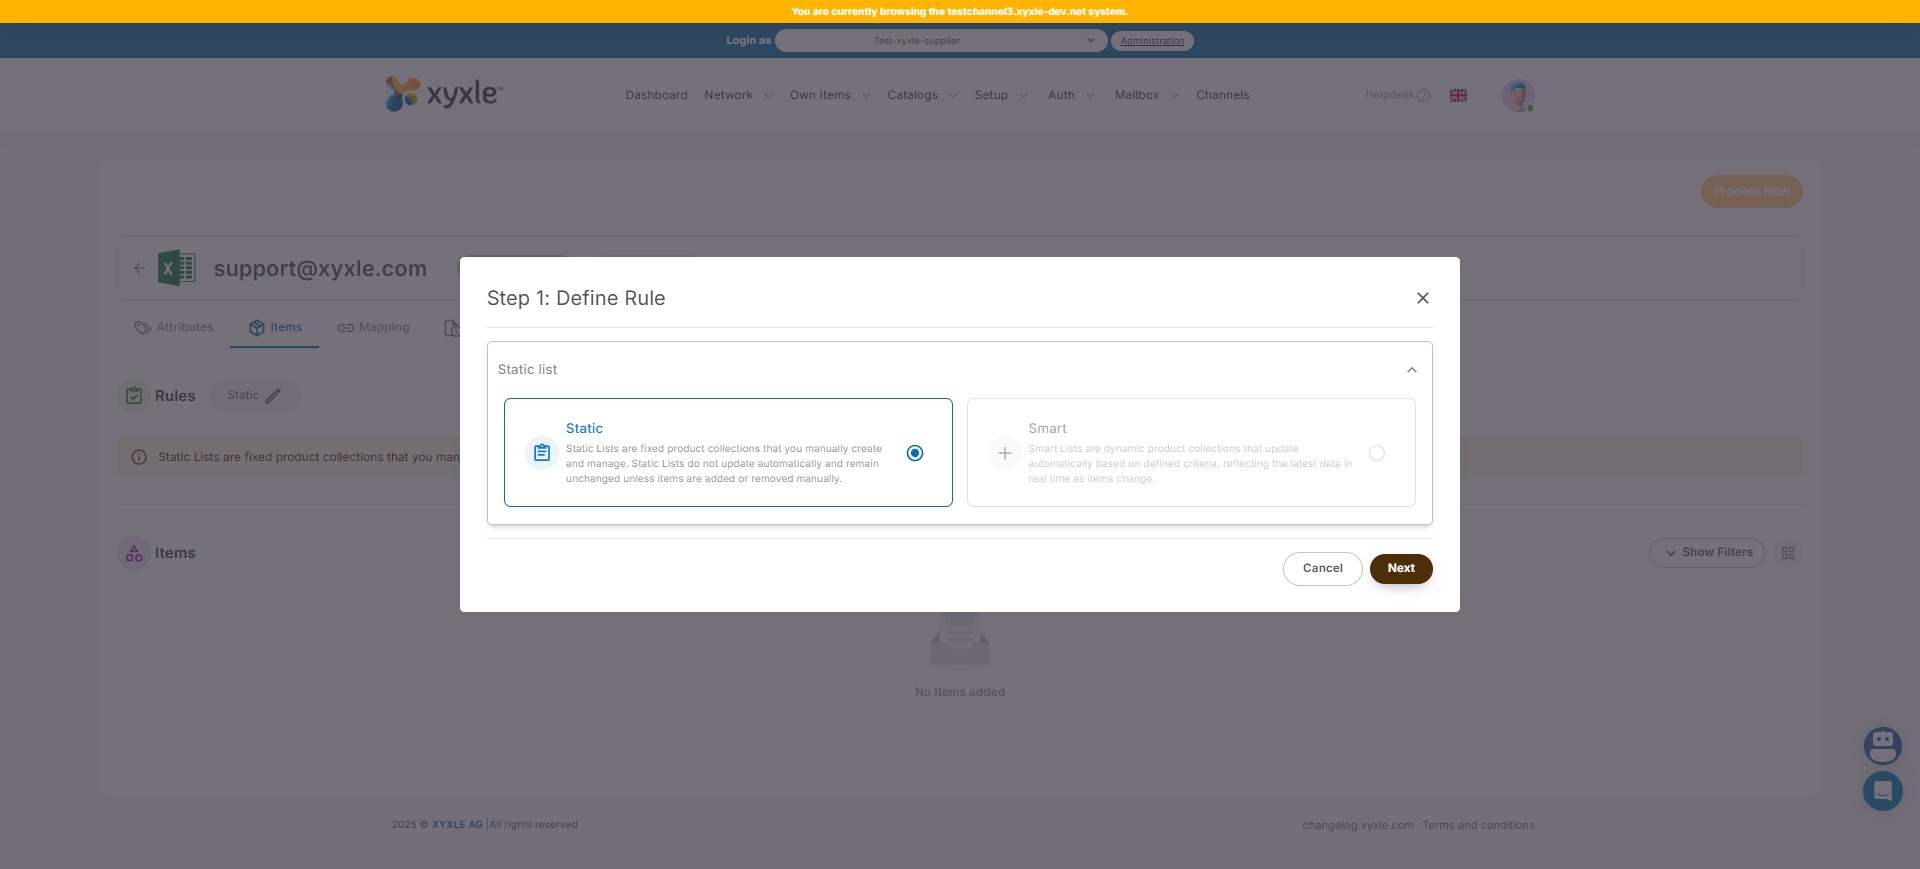
Click on "Static Lists". For Smart you will need a Premium Subscription.
Click on "Next"
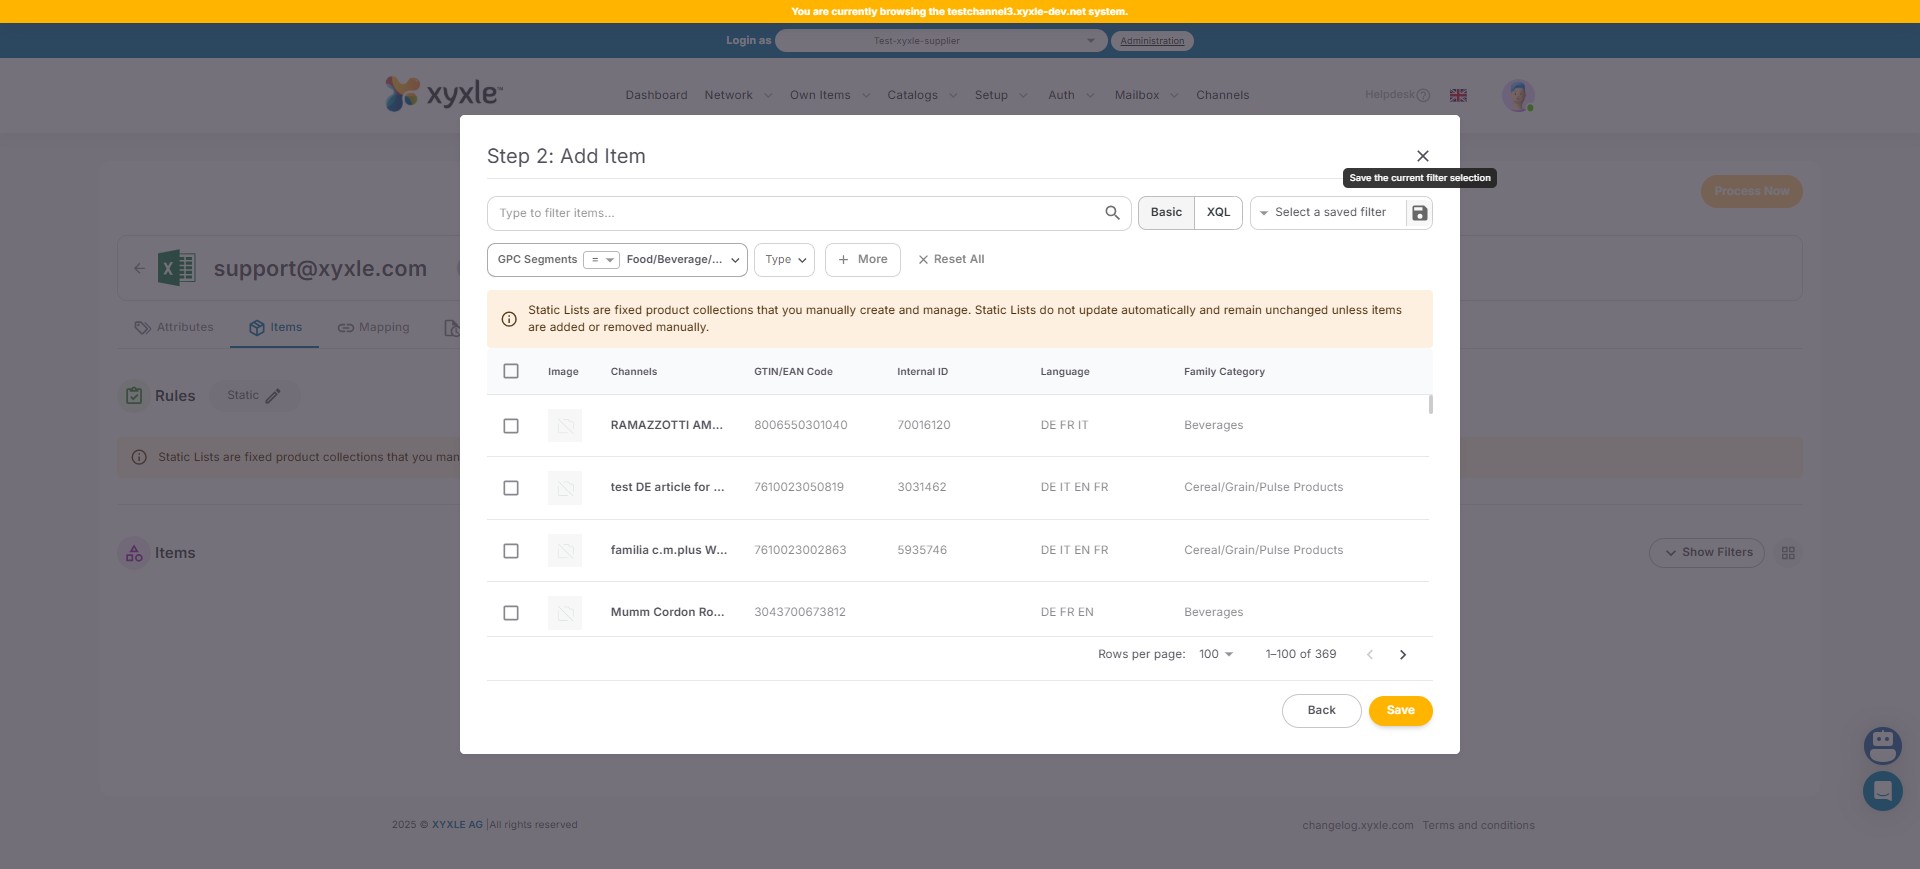
Here you have 2 options, either a Basic or XQL filter ( which you can use with AI). For this example we will use a Basic filter, more details about XQL can be found in our documentation.
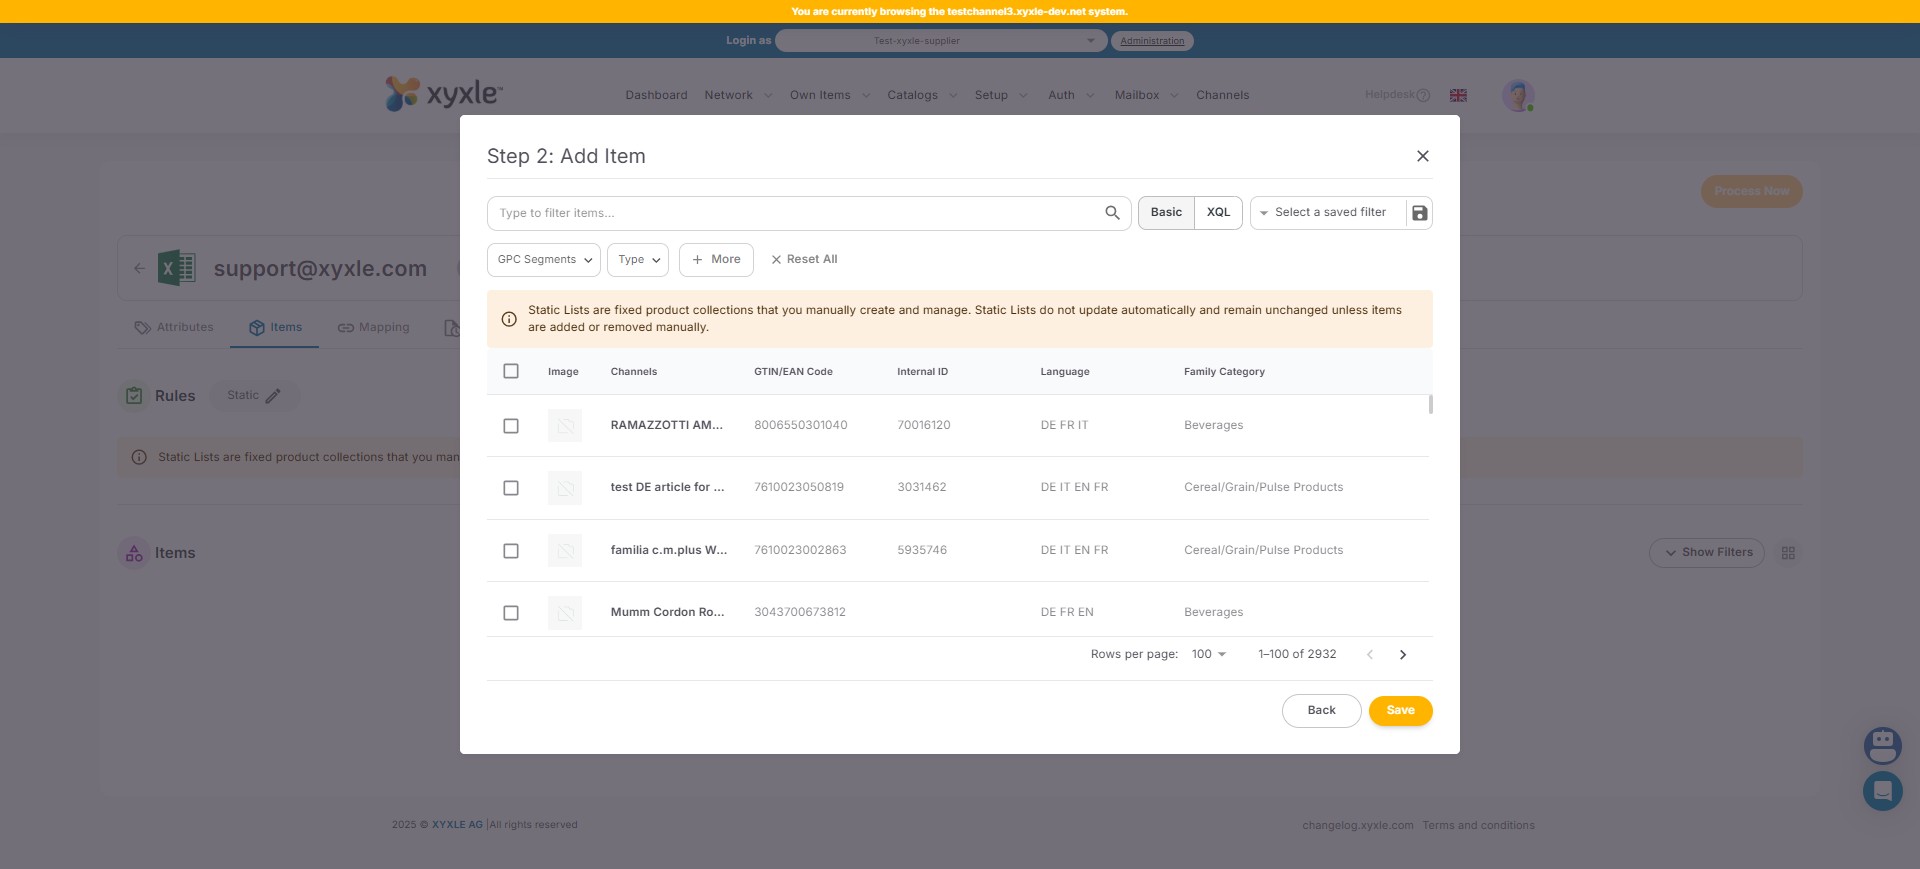
Click on "GPC Segments"

In Basic, you can filter for GPC Segments.
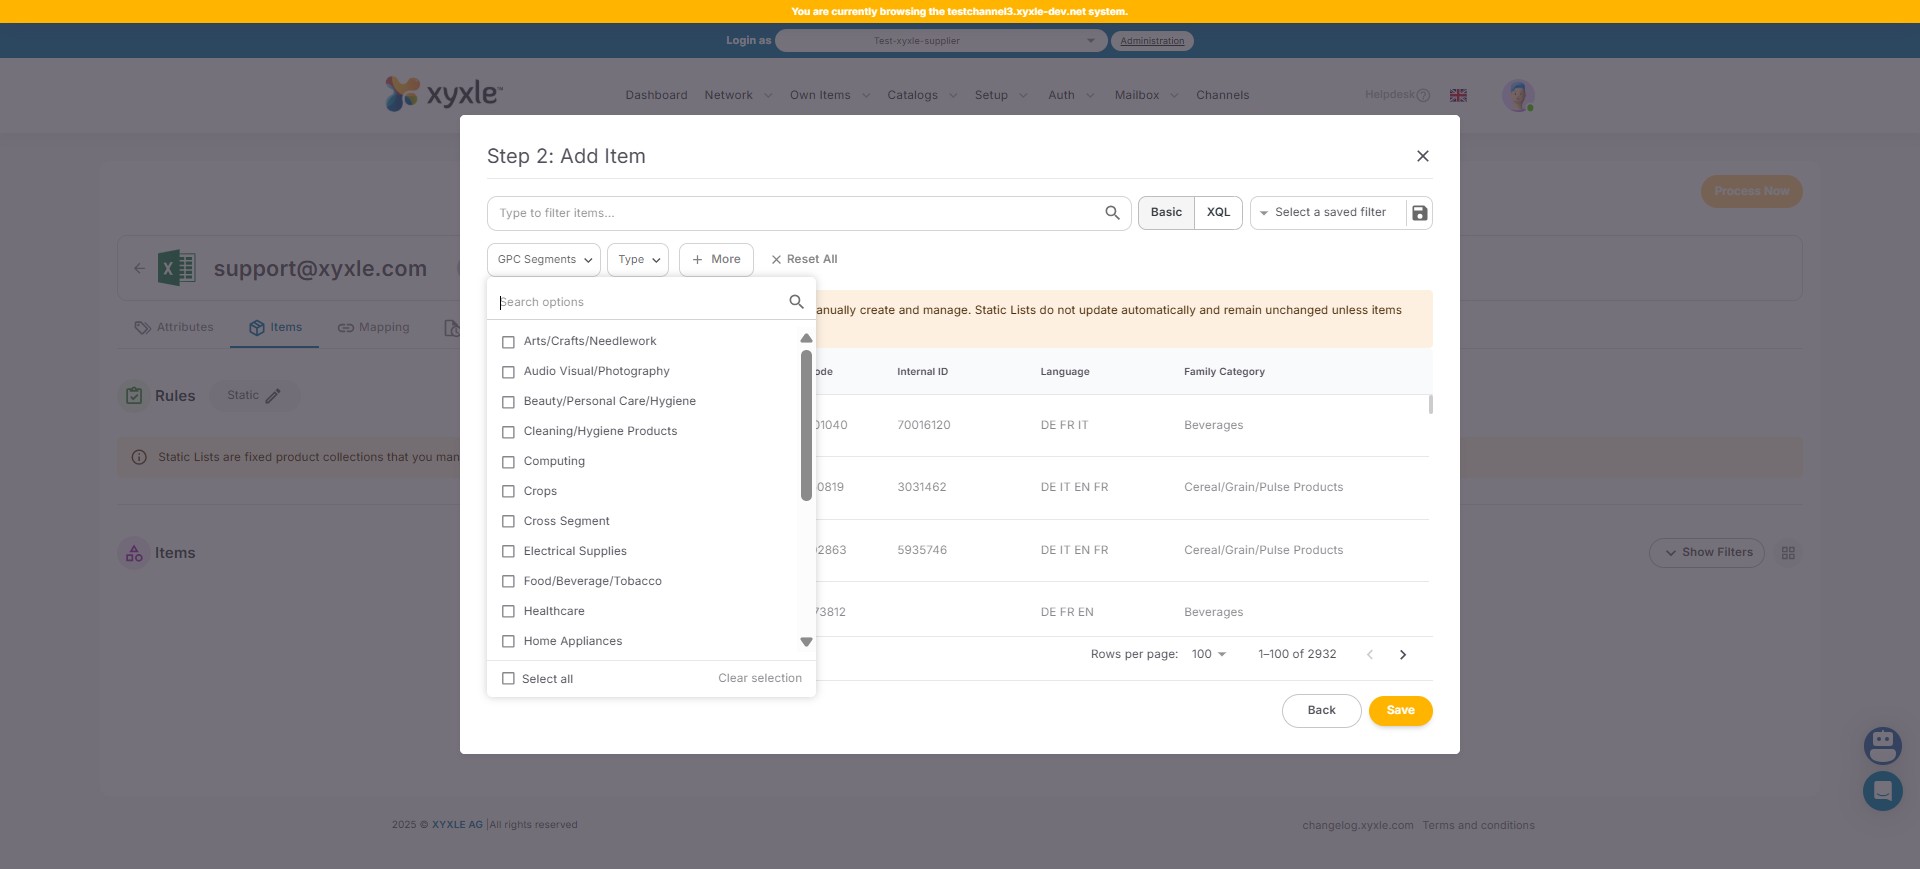
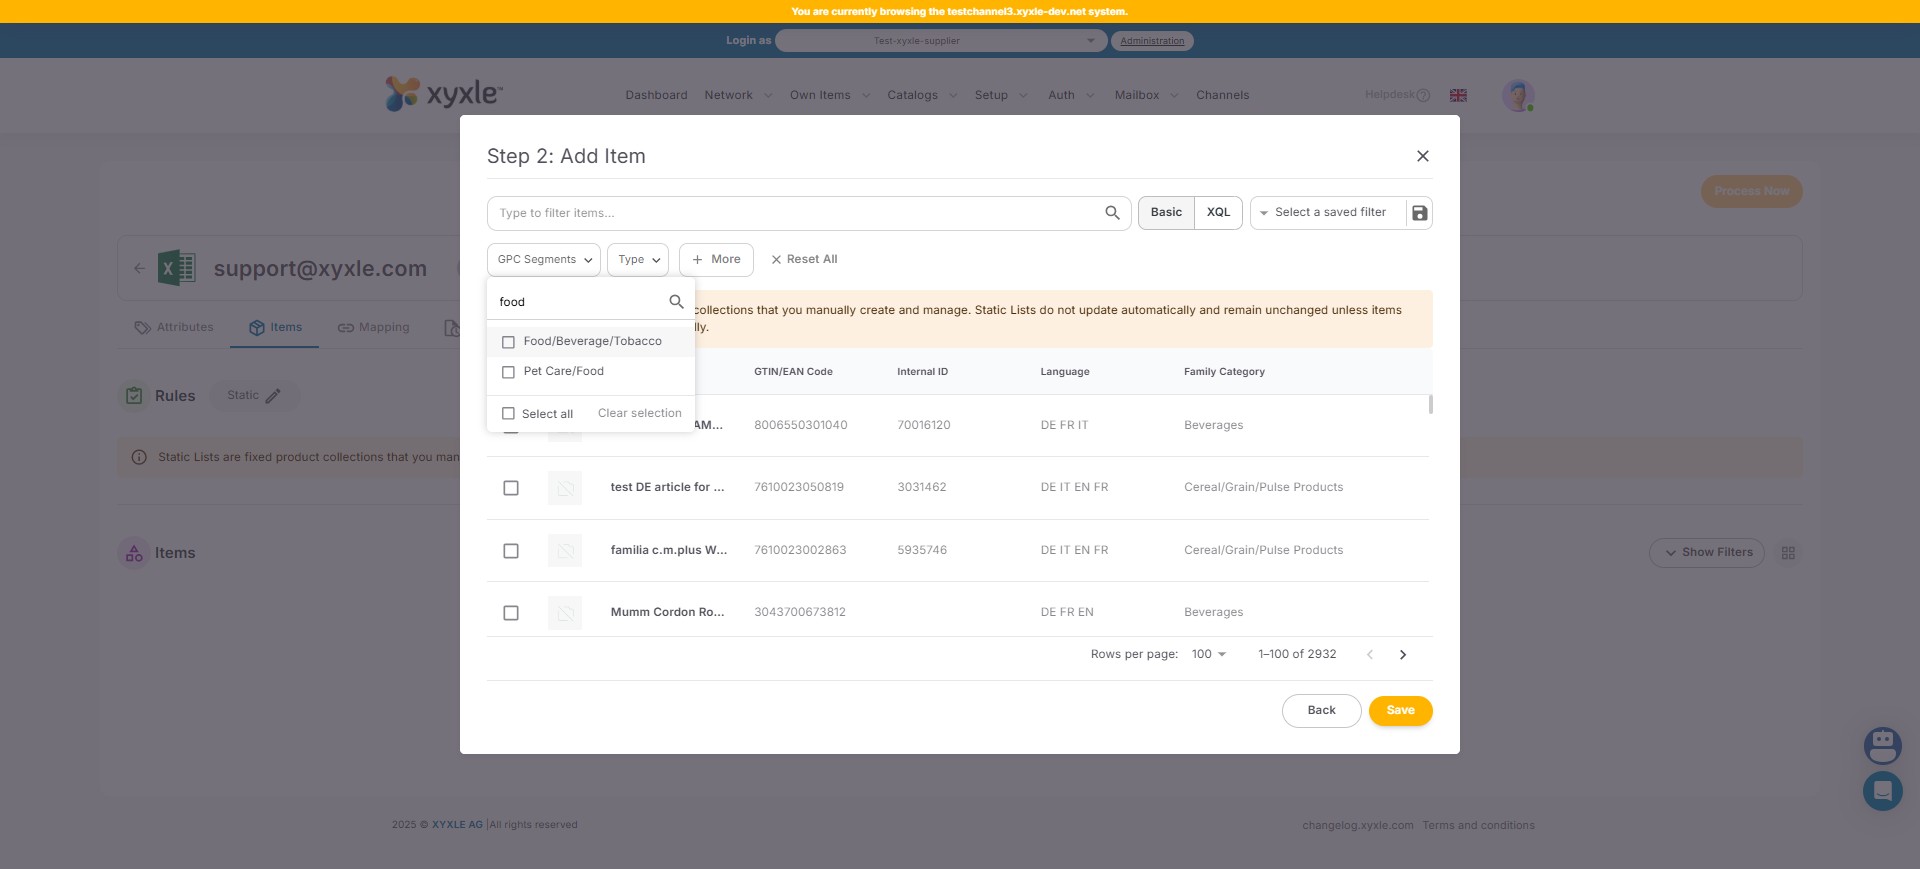
Click here and you can search a certain Segment, for this example we have used "Food/Beverage/Tobacco".
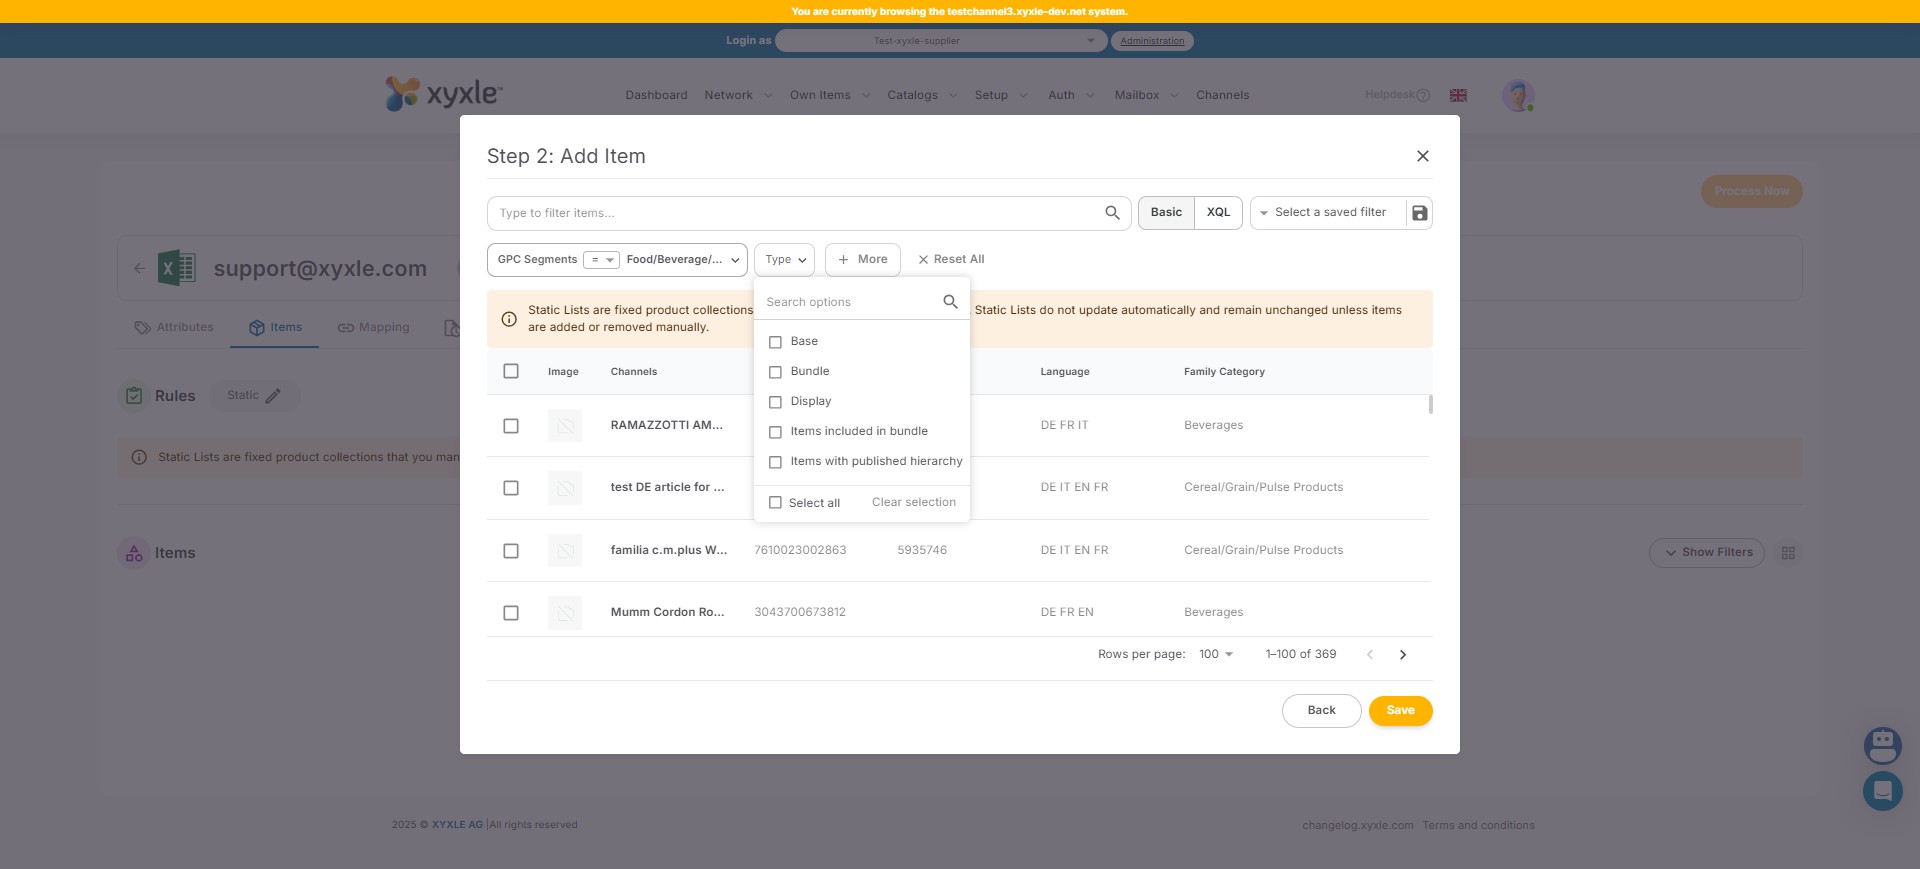
Click on Type to select a filtering as per below.
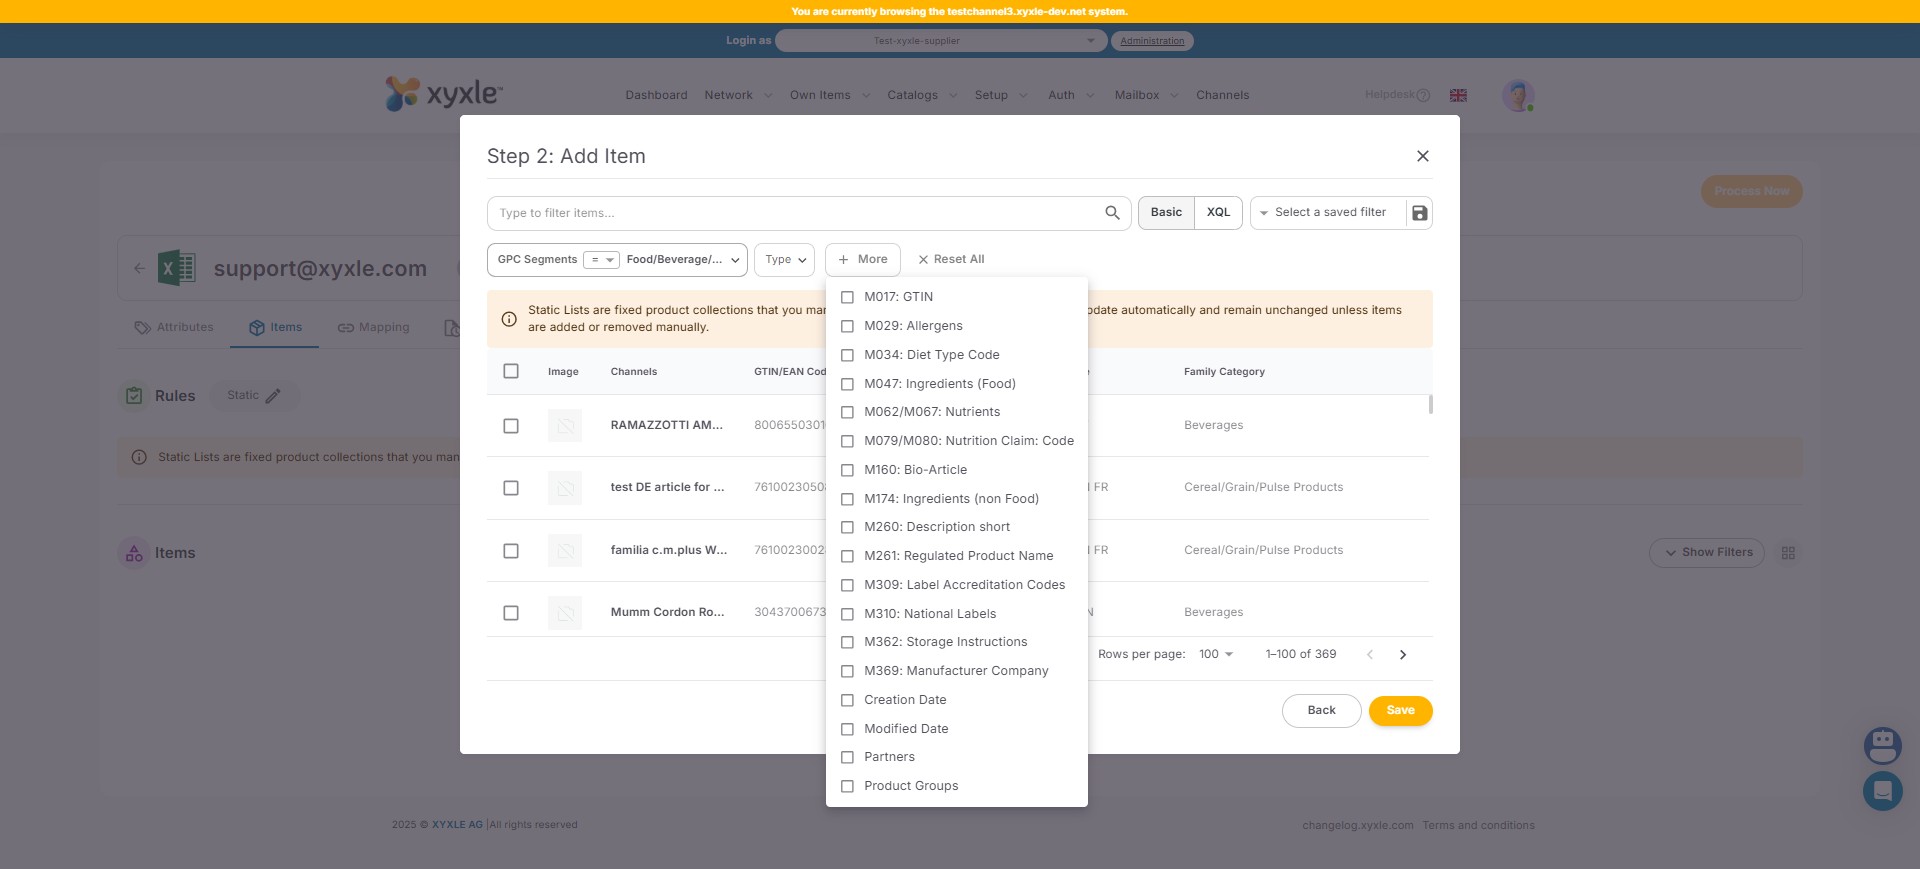
Click on More to filter from an Attribute. For example, you can choose to filter for a Label or a Manufacturer Company.
Click here to save a certain filter.
Click here an add a new name for this filter, then click on the green sign to save your selection.

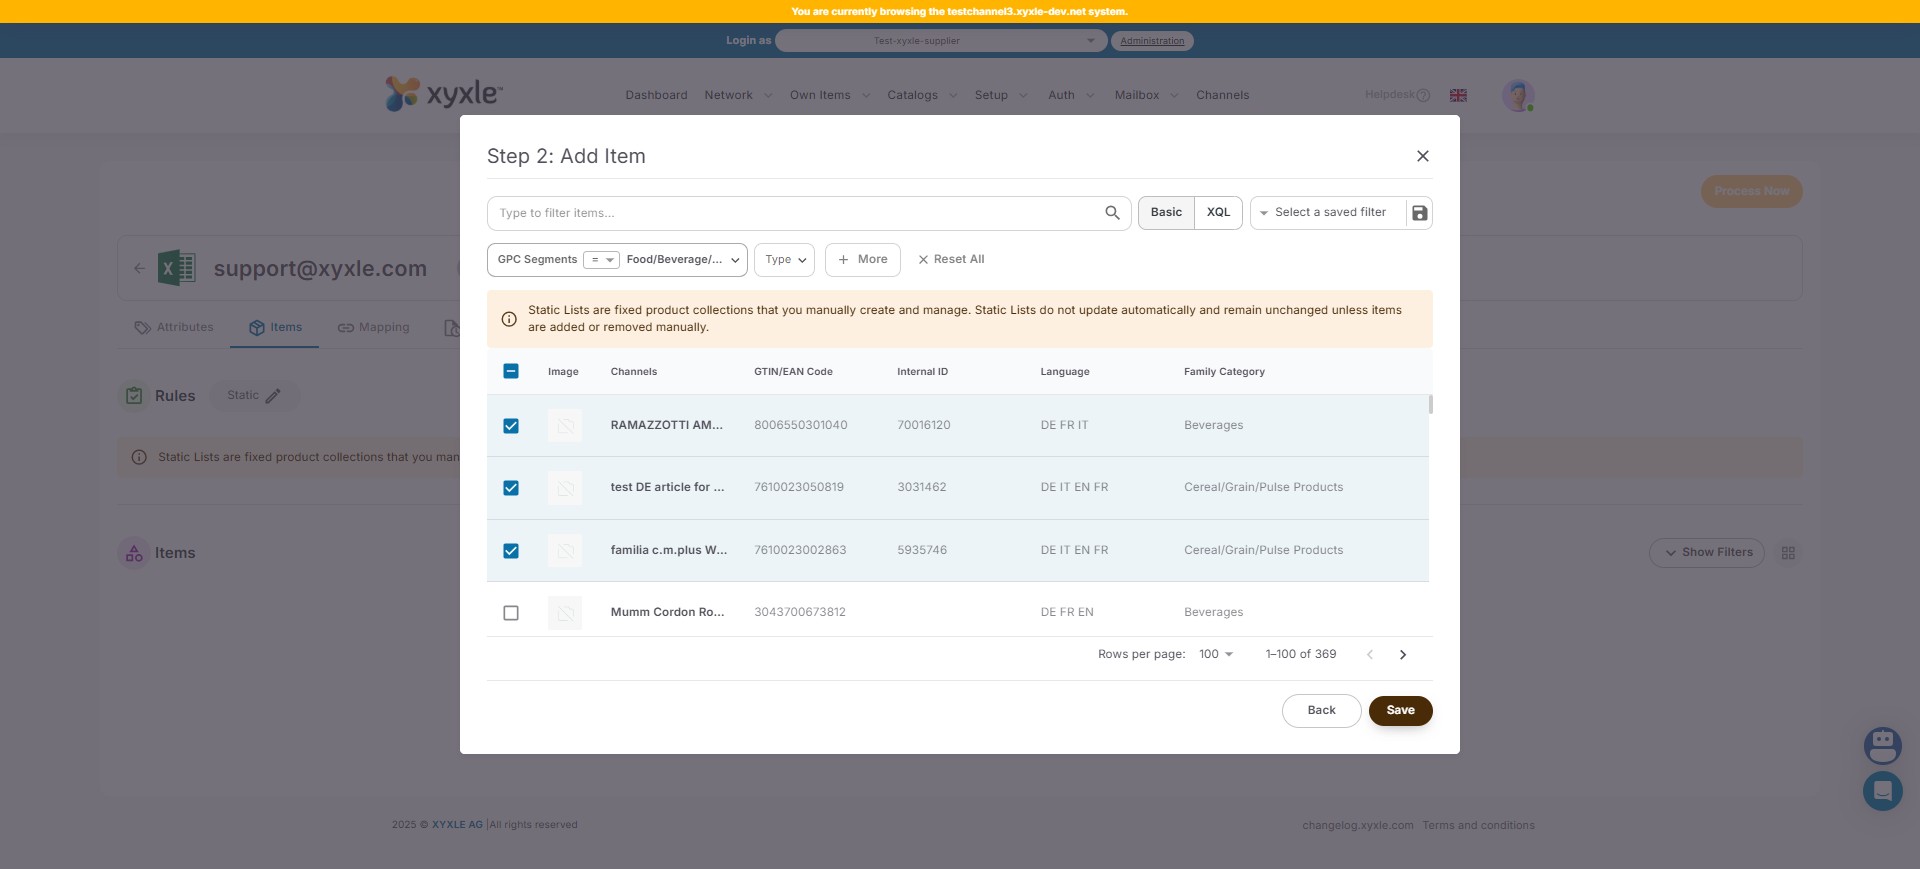
From the Items list you can choose whatever articles you need, for this example I have choosen just 3 articles.
Now the articles for this channel have been added and you will see everything as per below.
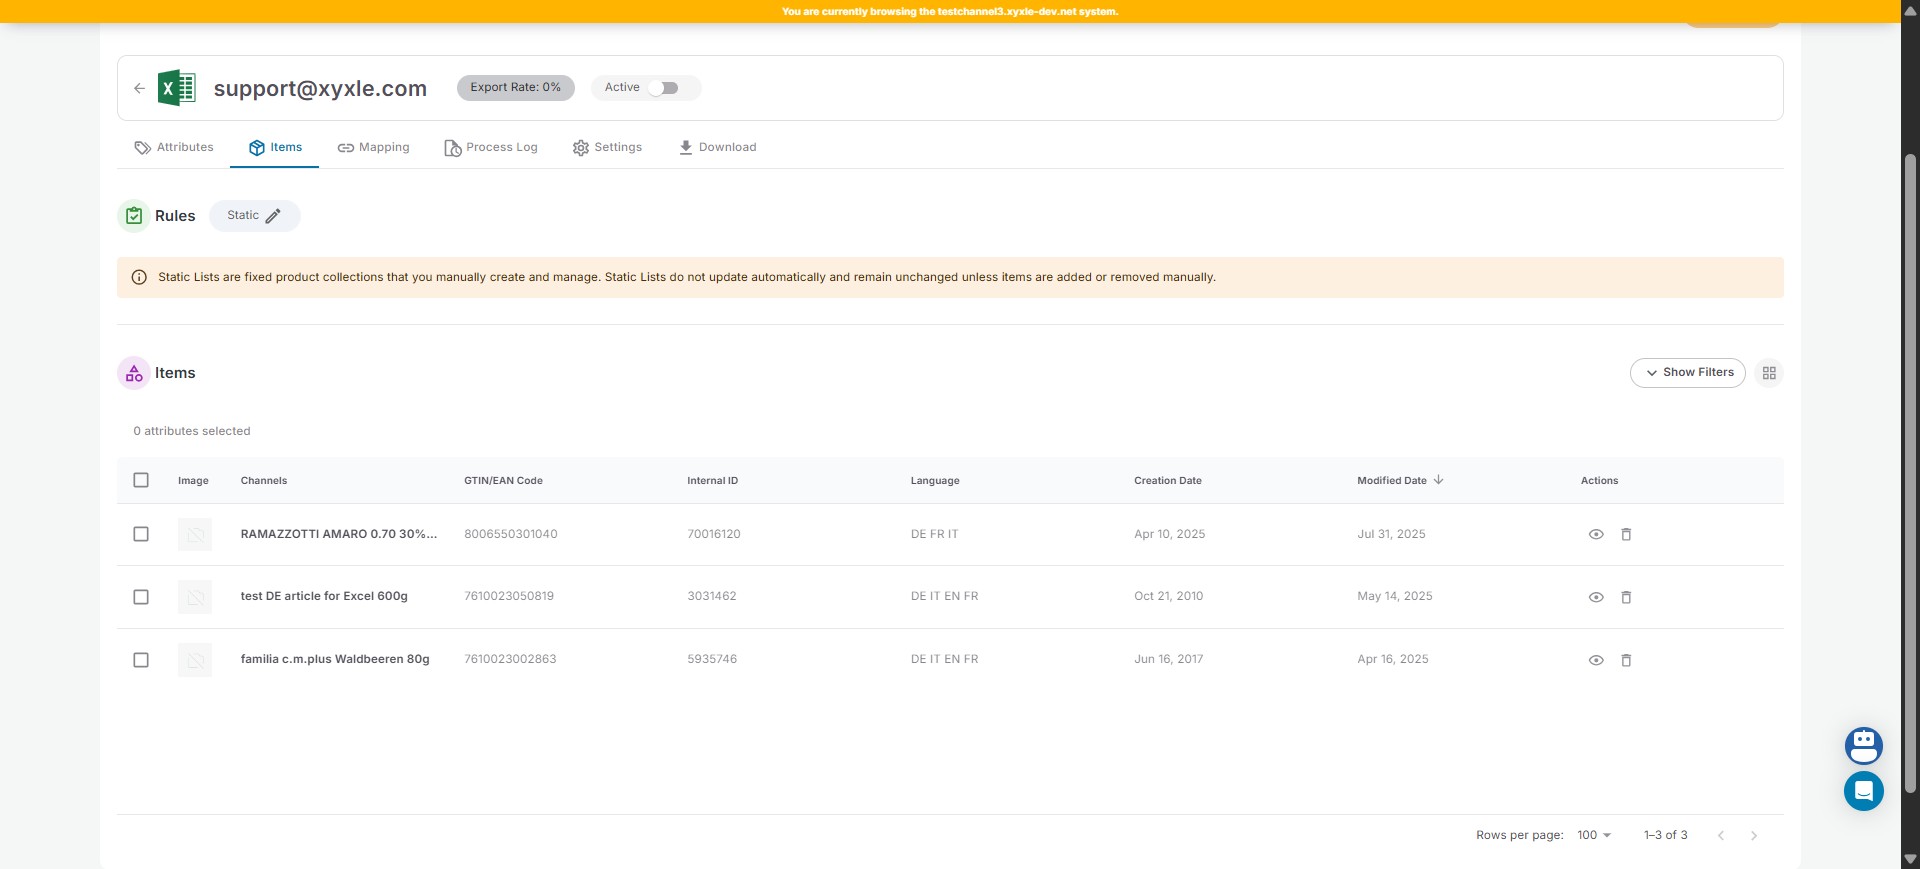
In the Actions section you can either view/delete a certain article.

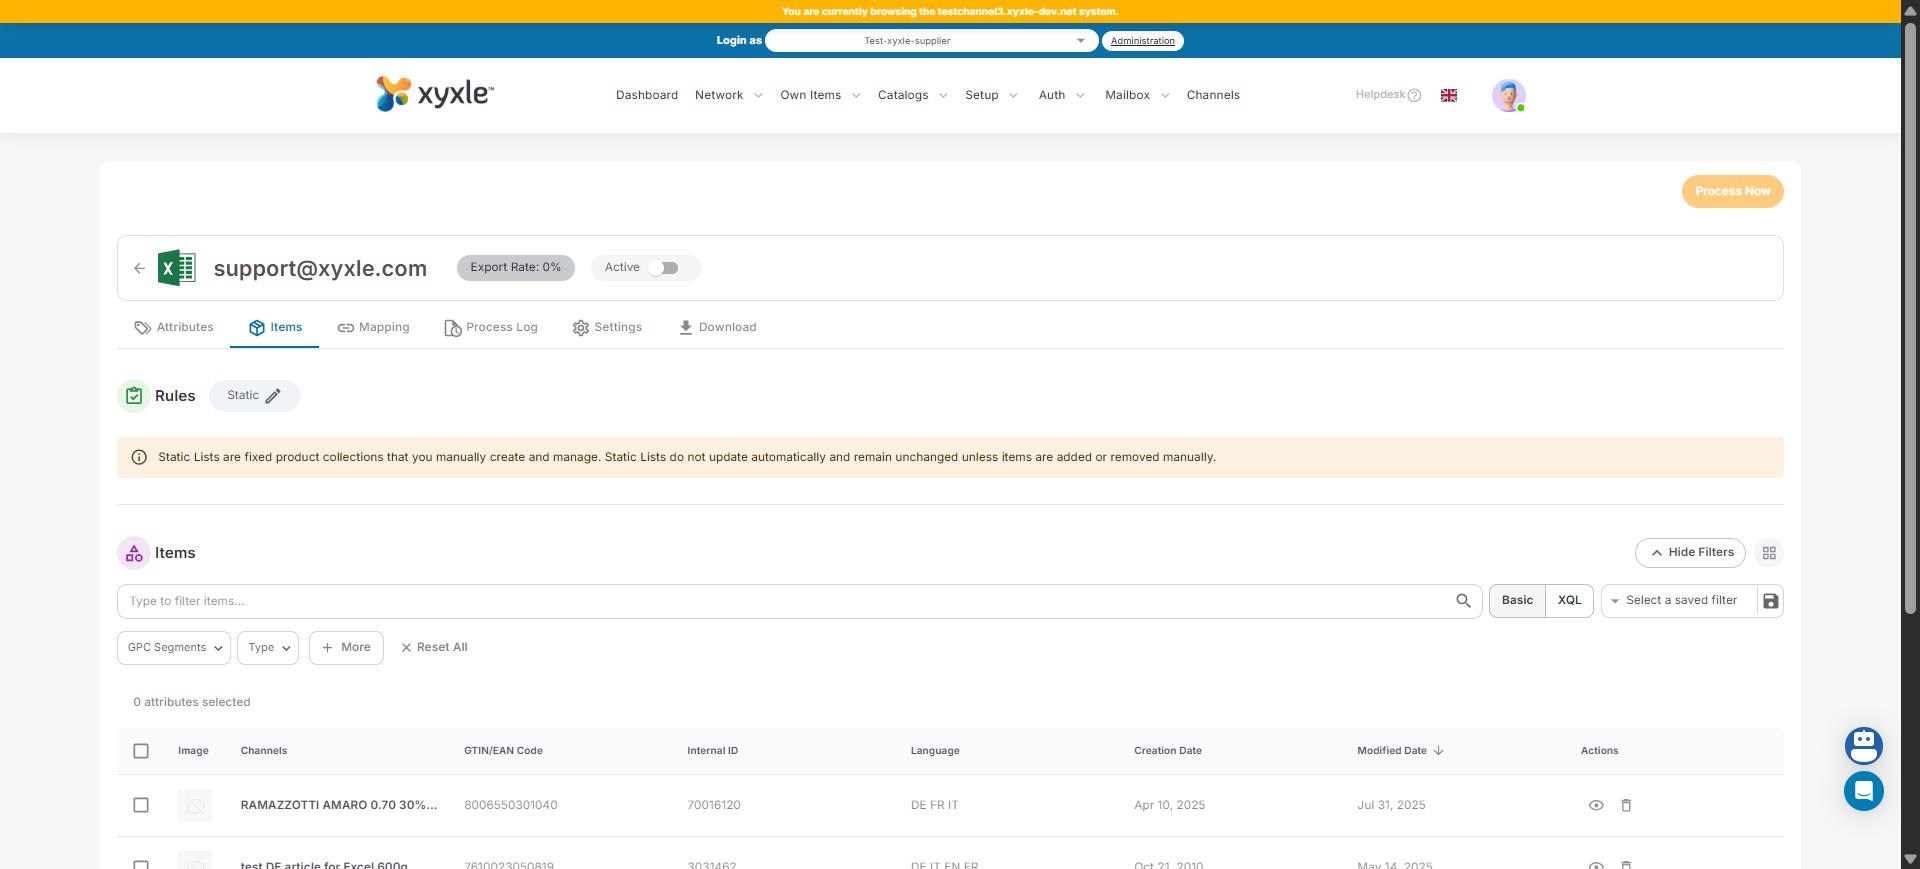
Click on Show Filters.

From here you can filter all the articles you have added, as per below.
Done 🚀

Frequently Asked Questions
- What does this guide explain?
The guide covers adding items to a channel using static lists and basic filters. It walks you through navigating to the channel settings, selecting static lists, and applying filters based on GPC Segments and other attributes like Label or Manufacturer Company. You can then add specific articles to the channel and manage them.
- What kind of filters can I apply to the items?
You can filter by GPC Segments, filter from an Attribute (e.g., Label or Manufacturer Company), and save these filters. The guide demonstrates filtering for 'Food/Beverage/Tobacco' within GPC Segments.
- The guide mentions Basic and XQL filters, what's the difference and which one is covered?
The guide focuses on using Basic filters. It mentions that XQL filters are also available but more details can be found in the documentation. The steps provided are specifically for setting up filters using the Basic option.